As an Amazon A ssociate, I earn from Qualifying purchases.
Your shower is supposed to be a sanctuary—a place to wash away the day’s stress and grime. But when that sanctuary becomes a breeding ground for rust, mold, and stubborn soap scum, stepping inside feels less like a luxury and more like a chore.
Maintaining a pristine bathroom isn’t just about aesthetics; it’s about hygiene and protecting your investment. Because showers are built from various materials—from ceramic tile to natural stone and fiberglass—there is no single “magic” product that works for everything. In fact, using the wrong cleaner on the wrong surface can cause permanent damage.
This comprehensive guide covers everything you need to know about shower cleaning & maintenance. We will break down how to tackle specific issues, such as mineral buildup, and how to care for delicate surfaces, as well as the best routines to keep your bathroom sparkling.

Contents
- 1 Why Regular Shower Cleaning & Maintenance Is Important
- 2 Common Shower Cleaning Problems & Their Causes
- 3 Essential Tools & Cleaners for Shower Cleaning
- 4 How to Clean Different Shower Surfaces (Complete Guide)
- 5 How to Clean Shower Fixtures & Accessories
- 6 Deep Cleaning a Walk-In Shower | Step-by-Step
- 7 How to Prevent Future Shower Problems
- 8 Conclusion: Keep Your Shower Clean, Fresh & Rust-Free
- 9 Frequently Asked Questions
Related guides:
Why Regular Shower Cleaning & Maintenance Is Important
It is easy to procrastinate on bathroom chores, but neglecting your shower leads to compounding problems. The warm, humid environment of a bathroom creates an ideal ecosystem for unwanted guests, such as bacteria, mold, and mildew. Beyond the obvious health implications, these organisms can stain grout lines and degrade caulking over time.
Regular maintenance also battles the effects of hard water. Mineral deposits, primarily calcium and magnesium, bond to surfaces, creating a cloudy haze on glass and rough patches on tiles. If left untreated, these deposits can etch glass and corrode metal fixtures.
By sticking to a consistent routine to clean and maintain your space, you gain several benefits:
- Prevents rust & corrosion: protects metal fixtures and caddies.
- Preserves surfaces: Keeps tile surfaces and grout bright and intact.
- Improves functionality: Ensures water flow remains strong by keeping the showerhead clear of blockages.
- Eliminates odors: Removes the bacteria responsible for musty bathroom smells.

Common Shower Cleaning Problems & Their Causes
Before diving into the solutions, it helps to understand what you are fighting. Most shower cleaning battles revolve around five specific enemies.
Rust Stains
If you see reddish-brown streaks near your drain or on the floor, you likely have a rust issue. This usually stems from iron in your water supply (hard water) or a metal item, like a shaving cream can or a non-rust-proof shower caddy, corroding on a wet surface.
-How to Clean Rust Stains in the Shower
Mold & Mildew
Black or pink spots in corners and on grout are signs of mold and mildew. These fungi thrive in moisture. If you don’t turn on the bathroom fan or ventilate the room effectively after showering, spores settle and multiply rapidly.
-How to Clean Orange Mold in Shower
Calcium & Limescale
White, chalky deposits on your fixtures and glass are caused by hard water. As the water evaporates, it leaves minerals behind. This buildup is notoriously difficult to remove without an acidic cleaning solution.
-How to Remove Calcium from a Shower Head
Soap Scum
That waxy, white, or gray film on your shower walls and tub is soap scum. It forms when the fatty acids in bar soap react with the minerals in hard water. It clings stubbornly to almost every shower surface.
Discoloration
Over time, tiles, glass, and clear silicone caulk can yellow or become cloudy. This is often a combination of body oils, product residue, and mineral deposits layering over one another.
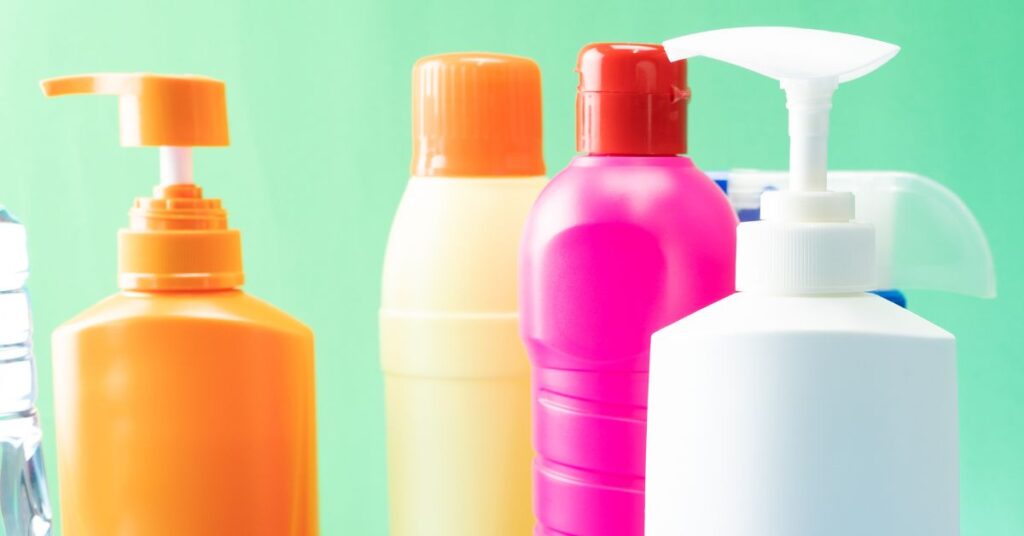
Essential Tools & Cleaners for Shower Cleaning
You don’t need a professional arsenal to deep clean your bathroom. In fact, many effective solutions are likely already in your pantry.
Natural Cleaners
- White Vinegar: An acidic powerhouse that dissolves calcium, limescale, and rust. (Note: Do not use on natural stone.
- Baking Soda: A mild abrasive that adds scrubbing power without scratching. It whitens grout and cuts through grease.
- Lemon Juice: Works similarly to vinegar but with a fresher scent; great for fixtures.
- Hydrogen Peroxide: Excellent for killing mold spores and whitening grout.
Commercial Cleaners
Sometimes you need something stronger. Look for dedicated cleaning products formulated for your specific shower material.
- Rust removers: Essential for stubborn iron stains.
- Tile & grout cleaners: Penetrates porous grout to lift deep-set grime.
- Non-abrasive bathroom sprays: Best for acrylic and fiberglass.
Tools
- Soft brush: For general scrubbing of tiles and tubs.
- Toothbrush: The perfect tool for getting into tight corners and grout lines.
- Microfiber cloth: Essential for wiping down glass and fixtures without leaving lint or scratches.
- Squeegee: The number one tool for prevention.
- Pumice stone: Use with extreme caution, primarily for porcelain, as it can scratch the surface of other materials.
How to Clean Different Shower Surfaces (Complete Guide)
To avoid damage, you must tailor your approach to the material you are cleaning. Here is how to clean a shower based on its specific makeup.
5.1 Tile & Grout
Ceramic tile and porcelain are durable, but the grout between them is porous and traps dirt.
Cleaning method:
Mix a paste of baking soda and water. Apply it to the grout and let it sit for 15 minutes. Spray with vinegar (if safe for your tile) to create a fizzing reaction that lifts dirt. Scrub with a toothbrush or grout brush, then rinse with clean water.
Stain prevention:
Once the grout is clean and dry, apply a grout sealer. This creates a barrier that prevents grime and dirty water from soaking in, making future cleaning and organizing much easier.
5.2 Acrylic & Fiberglass Surfaces
These synthetic materials are common in prefabricated shower enclosures. They are prone to scratching and dulling if you use harsh chemicals or abrasive tools like steel wool.
Safe cleaning routine:
Avoid pure vinegar, which can sometimes etch older acrylics. Instead, mix dish soap with warm water and use a soft sponge or microfiber cloth. If you have tough stains, cover them with a baking soda paste for an hour before gently wiping it away. Never use a heavy-duty scrubbing pad here.
5.3 Glass & Doors
A glass shower door looks beautiful when clear, but terrible when spotted. Water spots are the main culprit here.
Cleaning method:
Spray the glass with a mixture of half vinegar and half water. Let it sit for a few minutes to break down minerals. Wipe clean with a microfiber cloth. To truly clean a glass shower effectively, you want to avoid streaks. Finish by buffing dry. If the glass is permanently foggy, it may be etched by hard water, which is difficult to reverse.
5.4 Stone Shower Floors
If you have marble, granite, or slate, you must be careful. Acidic cleaners like vinegar and lemon juice will eat away at the stone, destroying the finish.
Cleaning method:
Use a pH-neutral cleaner specifically designed for natural stone. For a DIY option, mix a small amount of mild dish soap with warm water. Use a soft sponge to clean the shower floor gently. Dry the stone immediately after cleaning to prevent water spots. Ensure you re-seal the stone in your shower regularly to prevent staining.
5.5 Silicone Caulk & Seals
The rubbery seals in your shower are magnets for black mold.
Cleaning method:
Soak cotton balls in bleach or hydrogen peroxide and line them up along the affected caulk. Allow it to sit for several hours or overnight. Remove the cotton and rinse. If the mold or mildew is under the silicone (you can’t scrub it off), the seal has been compromised. You will need to remove the old caulk and re-seal the area.
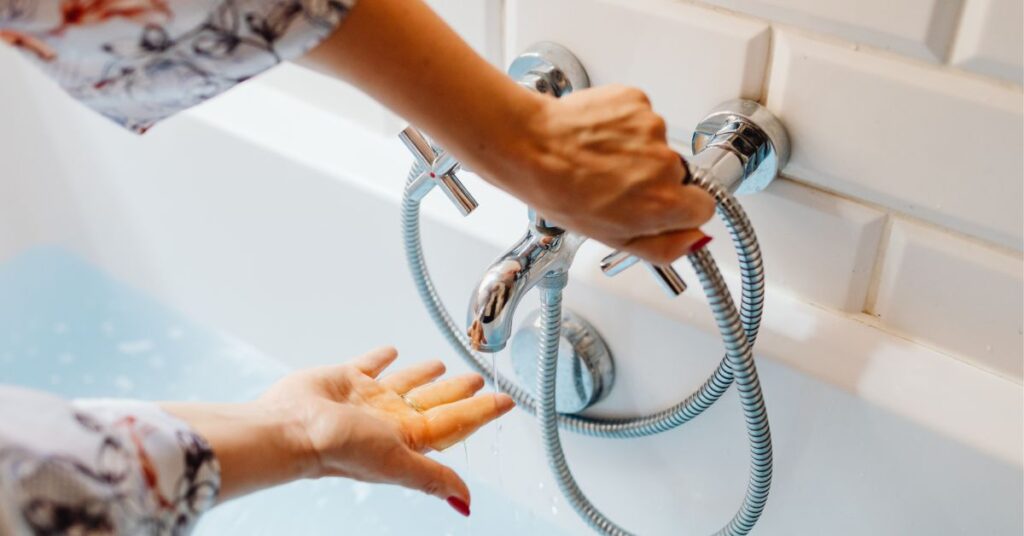
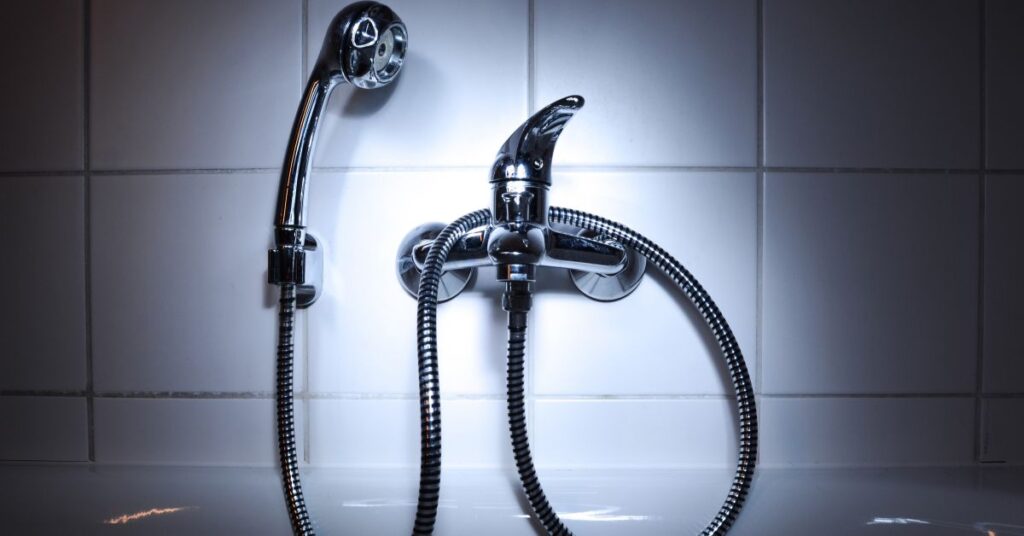
How to Clean Shower Fixtures & Accessories
Don’t forget the hardware. Shiny faucets and clean curtains make the whole bathroom look newer.
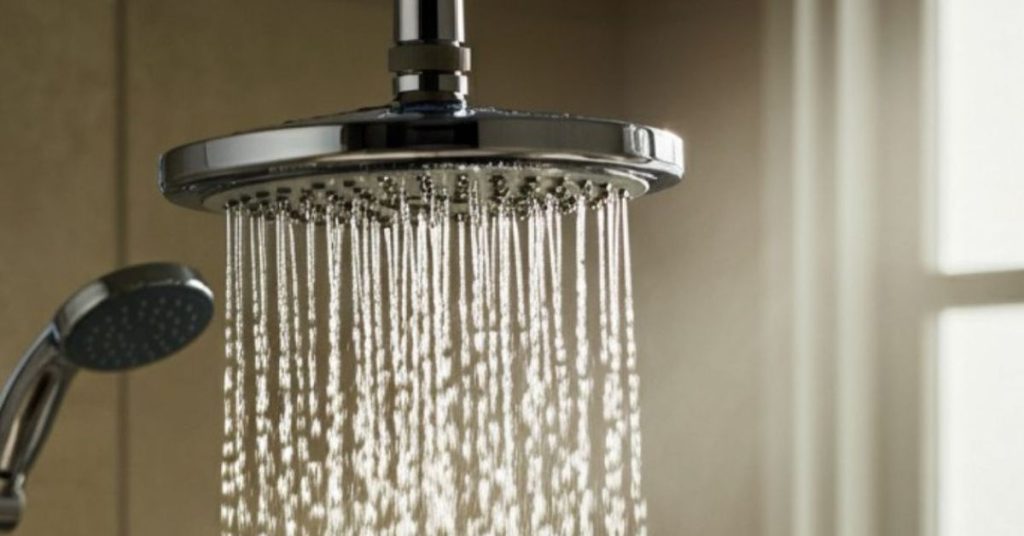
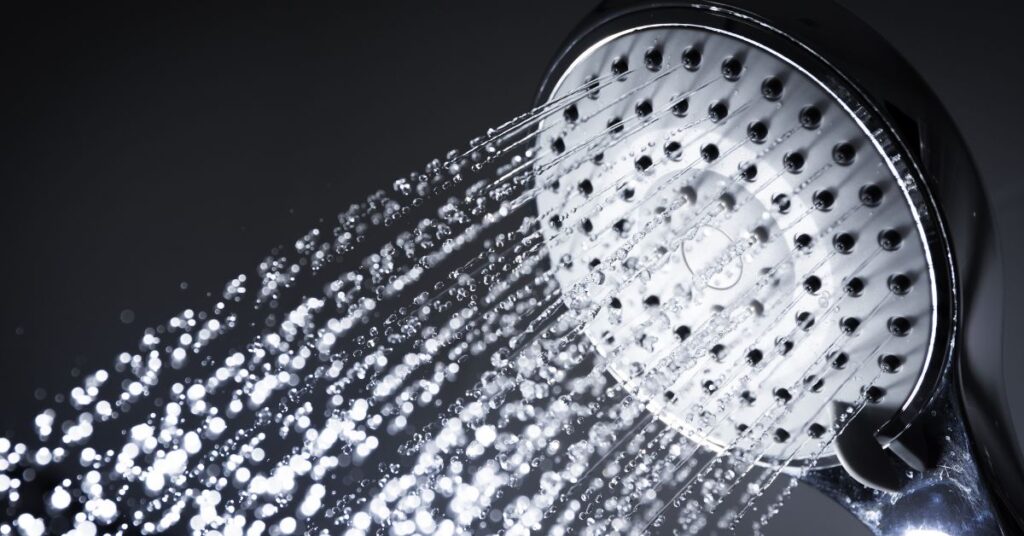
6.1 Shower Heads
If your water pressure has dropped, mineral buildup inside the nozzles is likely to blame.
Vinegar soaking method:
Fill a plastic bag with white vinegar. Secure it around the shower head with a rubber band so the nozzle is submerged. Leave it for several hours. Remove the bag and run hot water to flush out the loosened deposits. Use a toothbrush to scrub away any remaining debris on the faceplate.
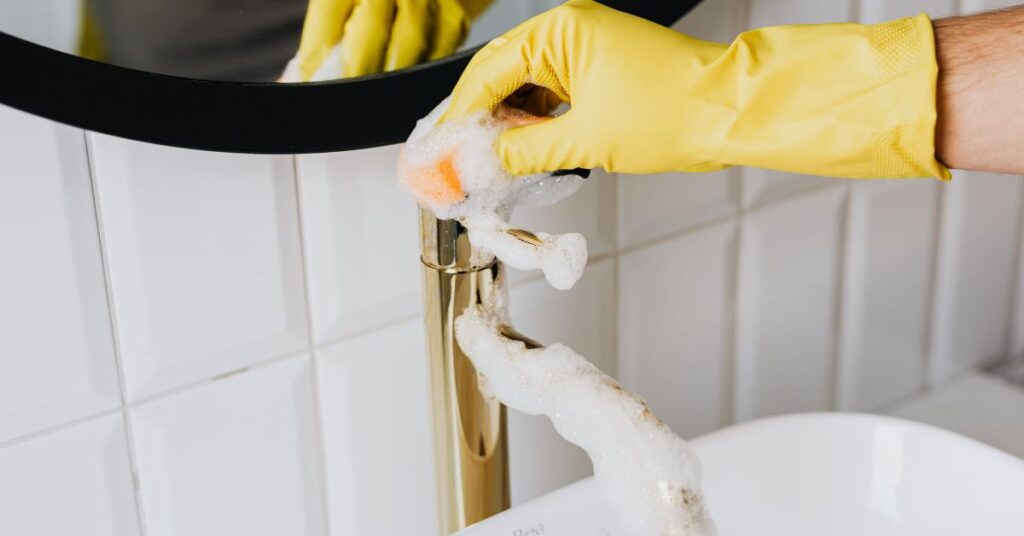
6.2 Metal Fixtures & Caddies
Chrome and stainless steel can lose their luster due to soap scum and rust.
Safe scrubbing methods:
For general polishing, a glass cleaner or a microfiber cloth with water works well. If you have a rust stain, make a paste of baking soda and water. Apply it to the spot and scrub gently with a toothbrush. For chrome that is heavily pitted with rust, a ball of aluminum foil dipped in water can gently scrub away oxidation without scratching.
6.3 Shower Benches & Wood Surfaces
Teak benches add a spa-like vibe but require care to prevent graying or mold.
Teak care:
Scrub the wood with a soft brush and mild soapy water to remove surface dirt. Rinse well. If the wood has lost its color, apply a teak oil or sealer once the wood is completely dry.
6.4 Shower Curtains & Liners
The bottom of a shower curtain often turns pink or orange from Serratia marcescens (a type of bacteria) or mildew.
Mold & mildew removal:
Most fabric curtains and plastic liners are machine washable. Wash them on a gentle cycle with warm water and a small amount of detergent. Add a cup of baking soda to the wash cycle and vinegar to the rinse cycle to kill spores and remove odors. Hang them back up to dry—do not put plastic liners in the dryer!
Deep Cleaning a Walk-In Shower | Step-by-Step
When it is time to deep clean your shower, following a sequence prevents you from dirtying areas you just cleaned.
- Empty the space: Remove shampoos, razors, and shower caddies.
- Pre-treat: Spray your cleaning solution on the walls and floor. Let it dwell for at least 10-15 minutes to break down grime.
- Top to Bottom: Start scrubbing at the top of the shower walls. Work your way down so dirty water runs over uncleaned areas, not clean ones.
- Tackle the Drain: Remove the shower drain cover. Clear out hair and debris. Scrub the area around the drain where slime accumulates.
- Floor last: Scrub the shower floor thoroughly, paying attention to corners.
- Rinse & Dry: Rinse the shower thoroughly with hot water. Squeegee the water off immediately to prevent spots.
How to Prevent Future Shower Problems
The secret to an easy-to-clean shower is doing a little bit of work every day. Prevention reduces the need for harsh scrubbing later.
- Daily squeegee habit: After every time you use the shower, use a squeegee on the glass and walls. This removes 80% of the water that causes spots and mold.
- Weekly quick clean: Spray a daily shower cleaner (or a 50/50 vinegar-water mix) once a week to inhibit scum buildup.
- Fix leaks immediately: A dripping faucet provides the constant moisture that mold needs to survive.
- Use exhaust fan: Run the fan during your shower and for 20 minutes after to lower humidity.
- Install a water softener: If you have very hard water, treating it at the source is the only way to permanently stop scale buildup.
- Wipe down the shower: If you don’t have a squeegee, a quick wipe with a towel helps.
Weekly, Monthly & Seasonal Shower Cleaning Schedule
Sticking to a schedule ensures your bathroom looks fresh without becoming an overwhelming project.
| Daily | Use a squeegee on glass. Rinse floor residue. |
| Weekly | Clean tile and grout lightly. Scrub the toilet and sink. Wipe down the shower fixtures. |
| Monthly | Deep clean the entire shower stall. Scrub grout lines. Clean the shower head. |
| Quarterly | Wash shower curtains. Check sealants/caulk. Polish metal fixtures. |
Conclusion: Keep Your Shower Clean, Fresh & Rust-Free
A sparkling bathroom is within reach if you use the right tools and techniques. Whether you are battling tough rust stains or just trying to keep your glass transparent, consistency is key. By pairing a daily maintenance routine with the targeted deep-cleaning methods outlined above, you can extend the life of your fixtures and enjoy a healthier home environment.
Remember, the goal is to make cleaning easier on yourself. Don’t wait for the grime to become visible. Clean every week, maintain your ventilation, and handle small problems before they turn into renovations.
Frequently Asked Questions
How often should I deep clean my shower?
You should perform a deep clean once a month. However, if you clean every week and use a squeegee daily, the monthly deep clean will be much faster and require less scrubbing power.
What’s the safest cleaner for acrylic showers?
Dish soap mixed with warm water is the safest bet. It cuts through soap scum without damaging the surface. Avoid abrasive powders or stiff brushes that can scratch the finish.
How do I prevent rust stains permanently?
To stop rust stain issues, remove metal cans (like shaving cream) from the shower. Use a stainless steel or plastic caddy. If rust comes from your water, consider installing a whole-home filtration system.
Can vinegar damage shower surfaces?
Yes. While vinegar is a great cleaner, it is acidic. It can etch natural stone (like marble) and damage some rubber seals over time. Always rinse thoroughly after using it on safe surfaces like ceramic or glass.
What causes orange mold in showers?
That orange or pink slime is usually a bacterium called Serratia marcescens. It feeds on fatty deposits from soap and shampoo. You can remove it with a grout cleaner or bleach solution, but improving ventilation is the best way to keep it from coming back.
As an Amazon A ssociate, I earn from Qualifying purchases.